I have such a fun project and a story to share today!
Be prepared...LOT OF PICTURES!!
I am using the set called ELEPHANT GARDEN (ahem, again? Yes, I LOVE THIS SET!)
I am using this tin I had left over from something. I am also using some mini cards and envelopes.
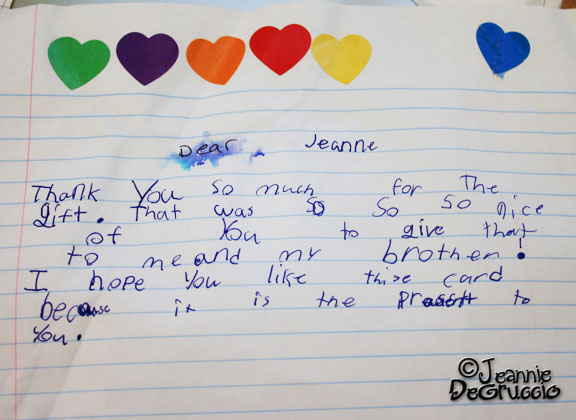
To begin, I had gotten this sweet not from a friends little one and I was so touched and impressed by the thoughtfulness of the note.
There is no way they could have known my slight obsession with Mr. ROY G BIV, so that made this thank you note even more special.
It occurred to me that this sweet little one must do this often, sending notes or appreciation etc, and I thought I could make her a little card kit of her own.
Hence, today's project!
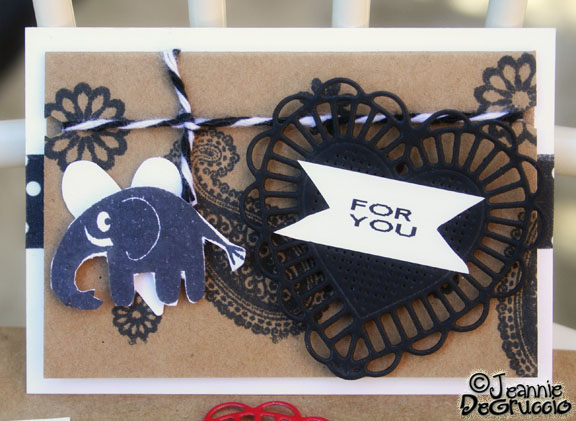
To start I needed to make a SAMPLE for her to follow so I used some of the ELEPHANT GARDEN STAMPS and created a random background on my card front.
Since I am making a rainbow themed card kit, I will make each card with the colors of the rainbow, you'll understand in a few more pictures.
Here is the completed sample card.
Inside each card I have placed this lined paper so she can write a little note.
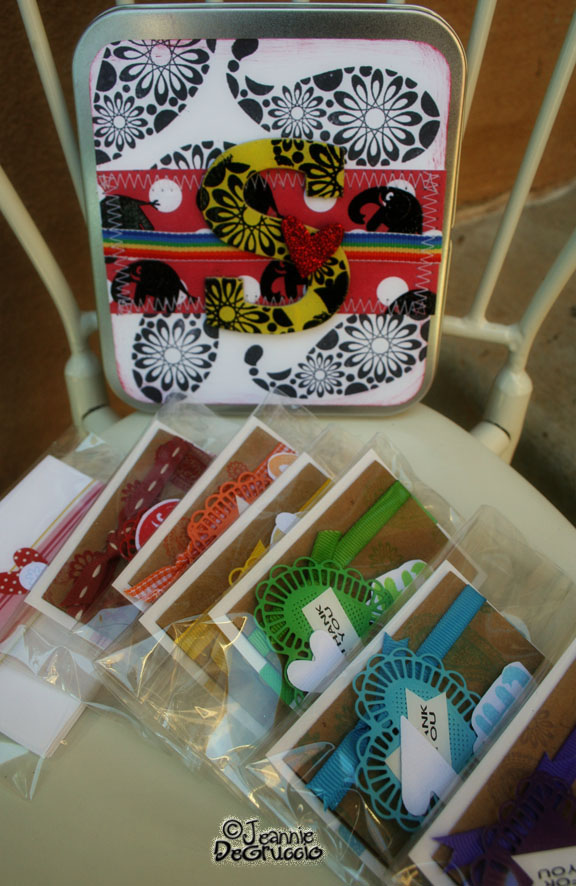
Here are all the cards for her to make with the pieces she will need.
I tried to keep it all real simple and everything already has the adhesive attached.
I added a little place for her to sign the backs of her cards too.
Each card has an envelope, they are all done in black so she does not need to fuss about matching those up with the right card.
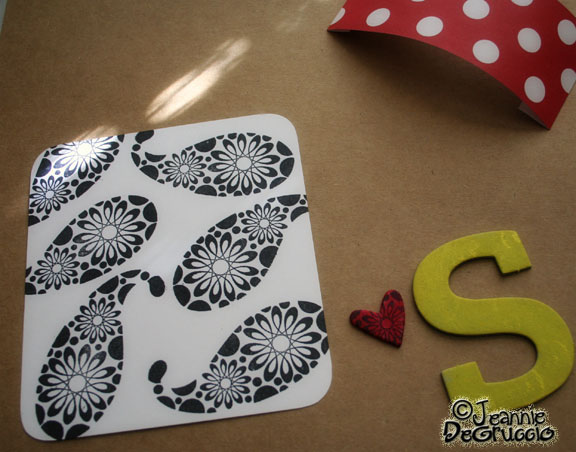
Now for the tin, I am using some chipboard and this wonderful paper ribbon. The ribbon is from PAPER JACKS and you can find them here. http://www.etsy.com/shop/Paperjacks
I stamped the background and painted and inked the chipboard pieces.
Then I took the paper ribbon and the chipboard letter and embossed them with black images.
Here is the completed tin, now to get everything stuffed in the tin.
Here is what it looks like when opened.
Here is the tin is all complete, all cards and sample are tucked safely inside.
The tin was a little too fat to stay closed, so I just added the ribbon but as the cards are used and given away, the tin will be able to stay closed on its own.
One last look, what do you think...will she like it??
Well, that is it for me today! Again...head on over to Gel a Tins and that is where you can purchase this set for yourself.
Be sure to head on over to Gel A Tins Blog and see what other things our Design Team ladies have made with all the fun Gel A Tins stamps.
Thanks for stopping by today.
This has been Jeannie with The Polka Cabana http://polkacabana.wordpress.com with today's post.


No comments:
Post a Comment