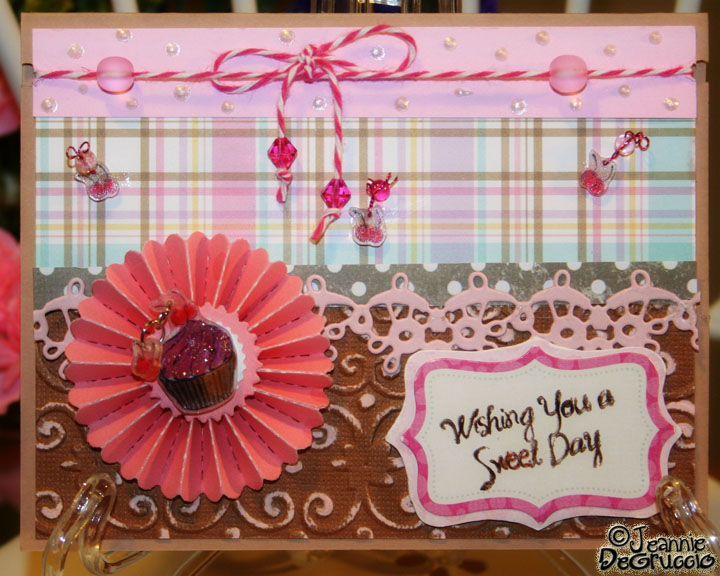
Today I get to share my first project that I have designed for Gel-a-Tins Stamps.
I am having so much playing around with Shrink Film lately, I am going to show you how to use it for your cards and other projects.
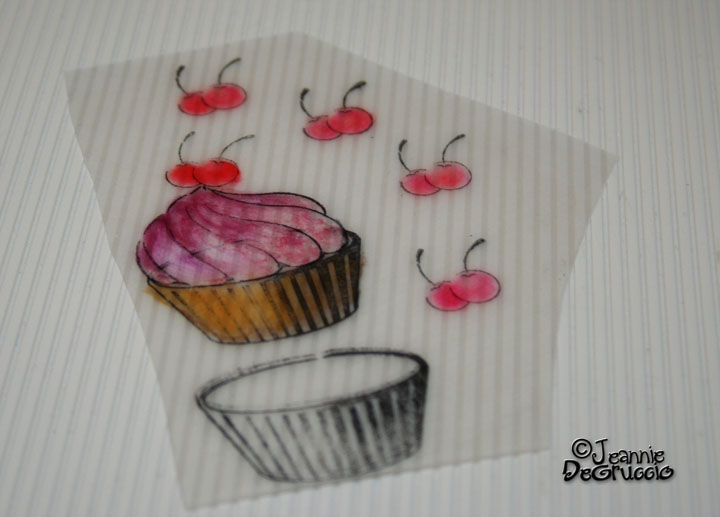
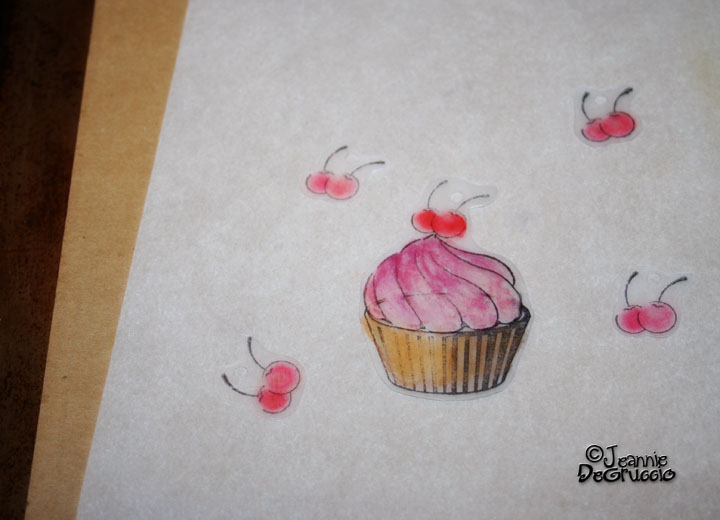
Here you can see I have already stamped with a solvent ink and colored in with various permanent markers and colored pencils.
I am having so much playing around with Shrink Film lately, I am going to show you how to use it for your cards and other projects.
Here you can see I have already stamped with a solvent ink and colored in with various permanent markers and colored pencils.
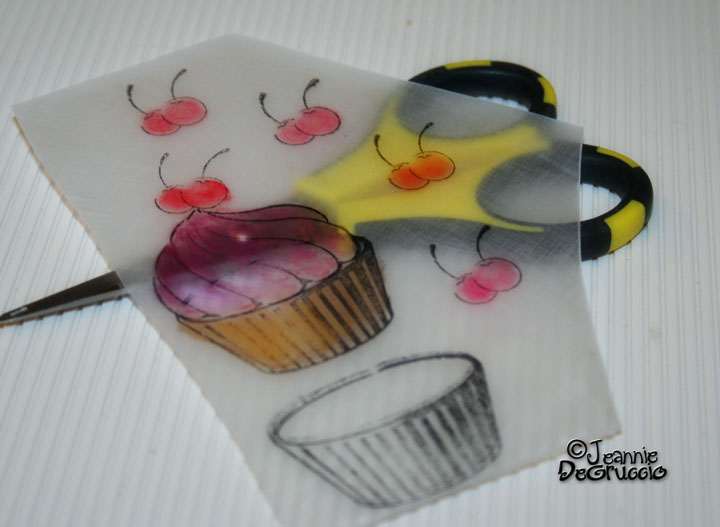
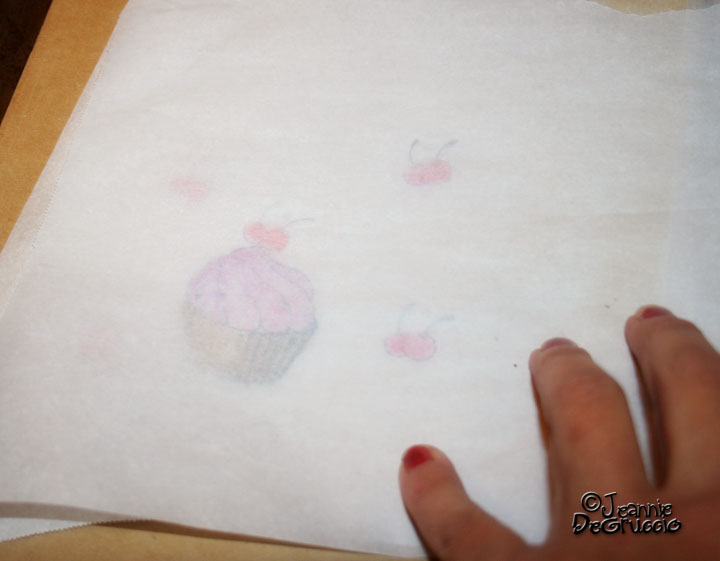
Here you can see that the film is somewhat see thru.
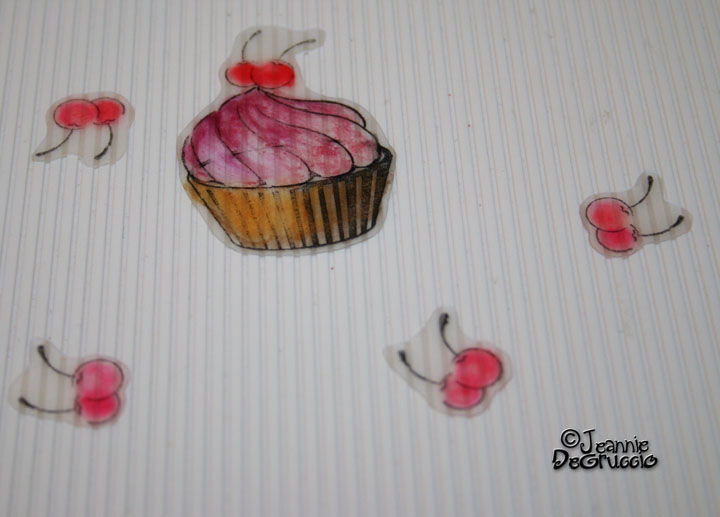
Now I have bubble cut around all the images.
The thing about shrink film is that you really have to plan ahead and know how and where you will use your images once they are shrunk.
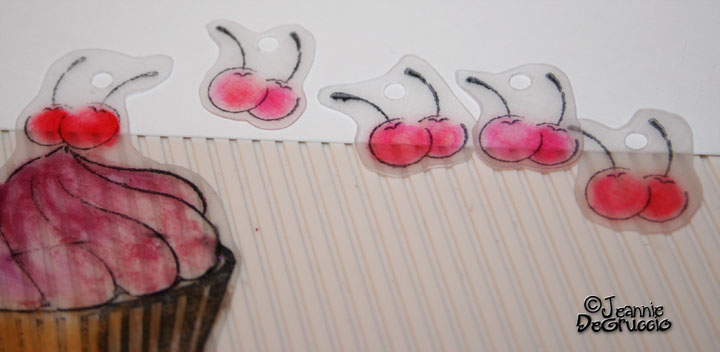
Since you need to attach them somehow you need to punch the holes with a normal size paper punch, before you shrink the plastic.
Planning ahead will help you know where you want to punch out those holes.
Since you need to attach them somehow you need to punch the holes with a normal size paper punch, before you shrink the plastic.
Planning ahead will help you know where you want to punch out those holes.
I have punched all my holes now I am getting ready to bake them.
I place them on the cookie sheet on top of a piece of cardboard covered with parchment paper.
I place them on the cookie sheet on top of a piece of cardboard covered with parchment paper.
I place another piece of parchment over the plastics to help keep them somewhat flat. They will curl, but I like to have the slight added weight to flatten them.
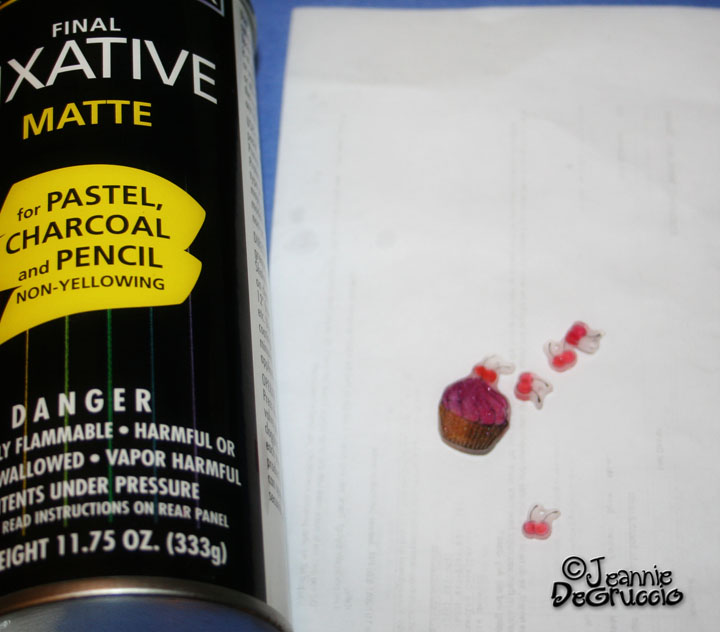
When they are shrunk and cooled off, I spray the pieces with a fixative. Even though I will use the side opposite of the side I colored, I still want to protect the colored surface.
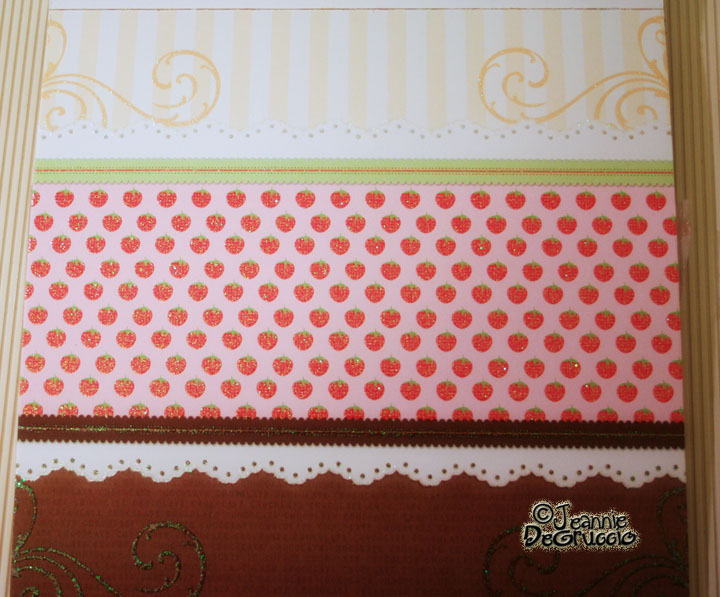
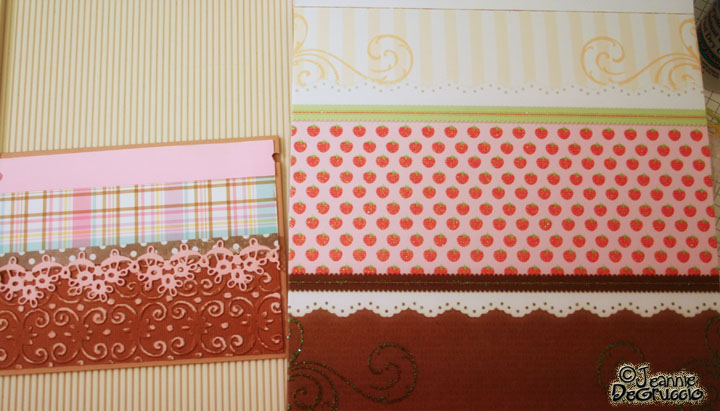
Moving on to my card base, I have this paper from a DCWV pad. I love the pattern and will mimic it for my card base.
Here you can see my card base done, next to the sheet of paper I have mimicked.
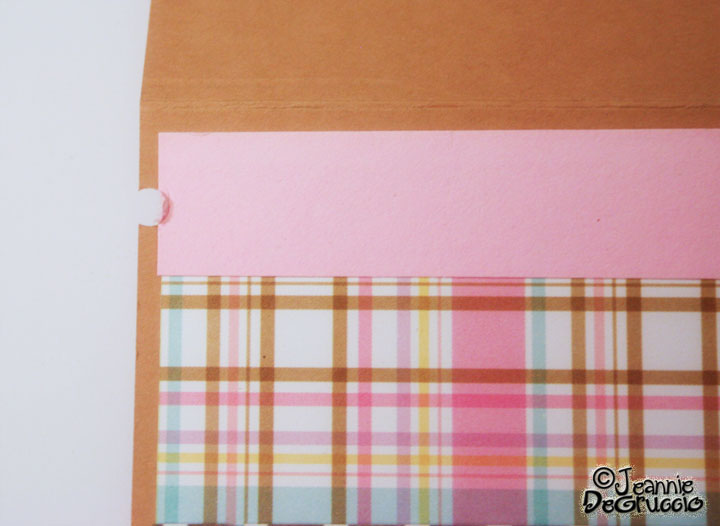
I like to punch a little notch off the card base when attaching ribbon and twine to avoid the twine/ribbon from shifting.
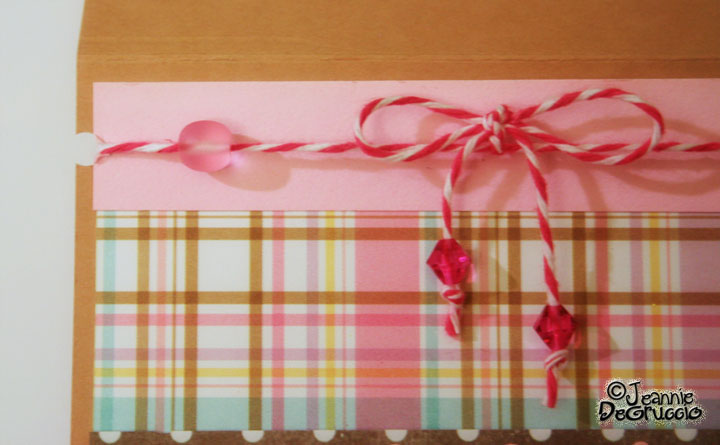
Here is the twine all attached.
After that, I attached the rest of my card embellishments.
To attach my shrunk plastic images, I put some decorative wire and beads through my punched holes.
After I have them all done with the beads and wire, I attach them with a really strong adhesive.
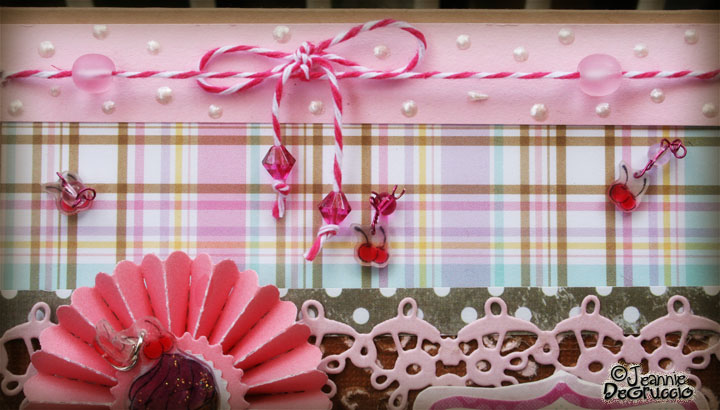
Here is a close up of how cute these little trinkets are.
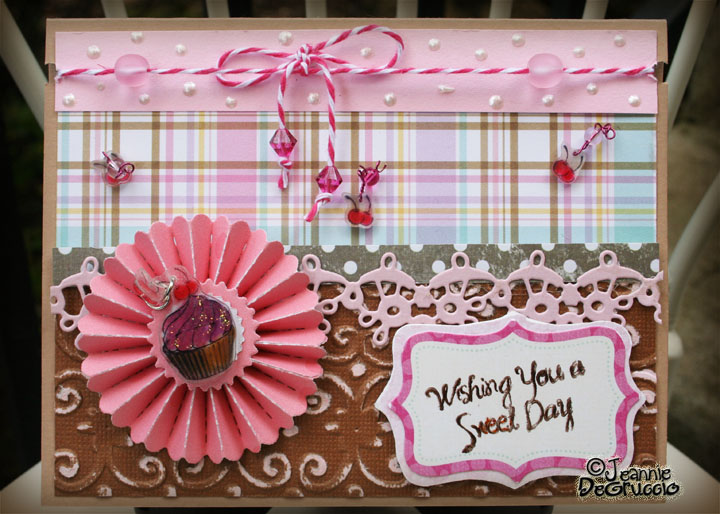
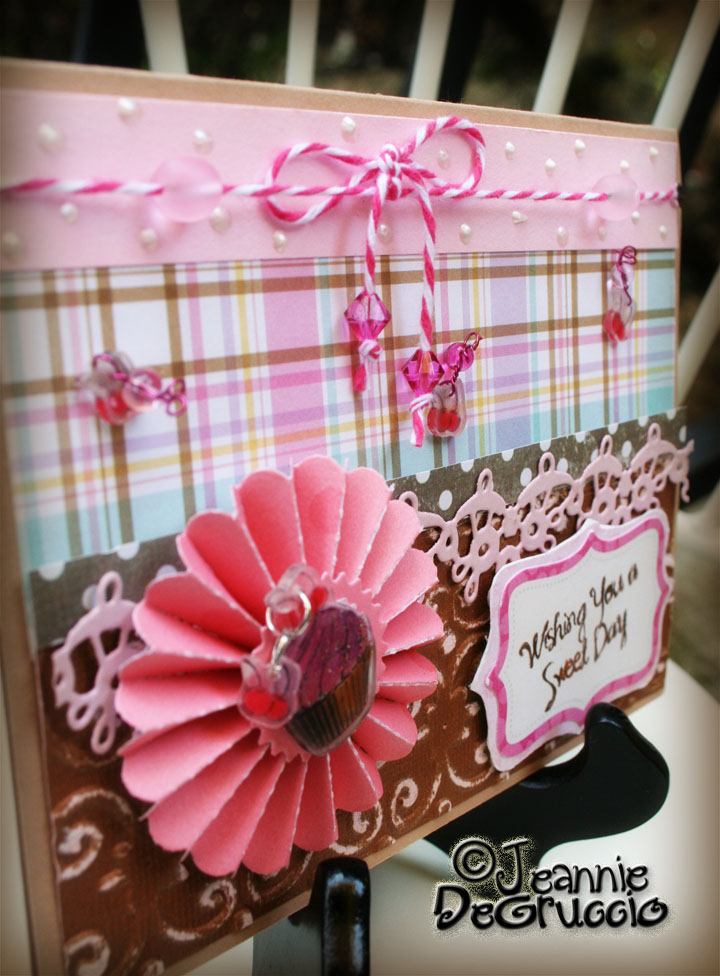
One last look at the final product.
I hope you have liked my card today. I am so happy to be working with Gel-a-Tins stamps, I will be here again next week.
This has been Jeannie from The Polka Cabana http://polkacabana.wordpress.com/ with today's post.
This has been Jeannie from The Polka Cabana http://polkacabana.wordpress.com/ with today's post.

No comments:
Post a Comment